Drywall Calculator for Walls and Ceiling
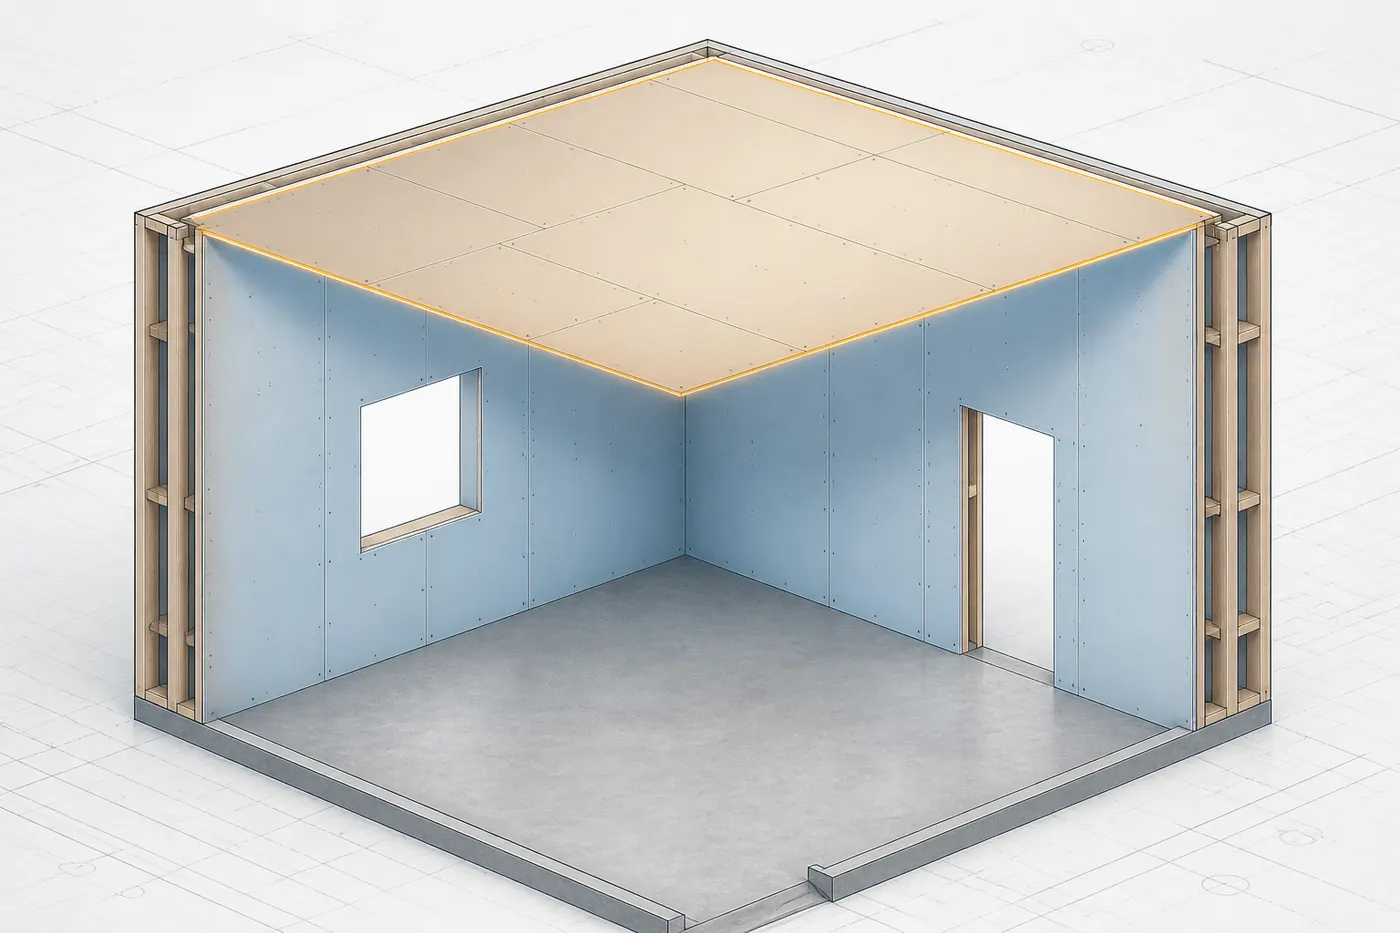
Board a whole room in one pass. Walls and ceiling are both switched on, so the estimate covers every surface and includes a higher screw purchasing allowance for overhead board.
- Walls + ceiling preset
- Ceiling screw allowance
- Any sheet size
- Live results

Your estimate
4' x 8' sheets · 10% waste allowance4' x 8' drywall
Area
Materials
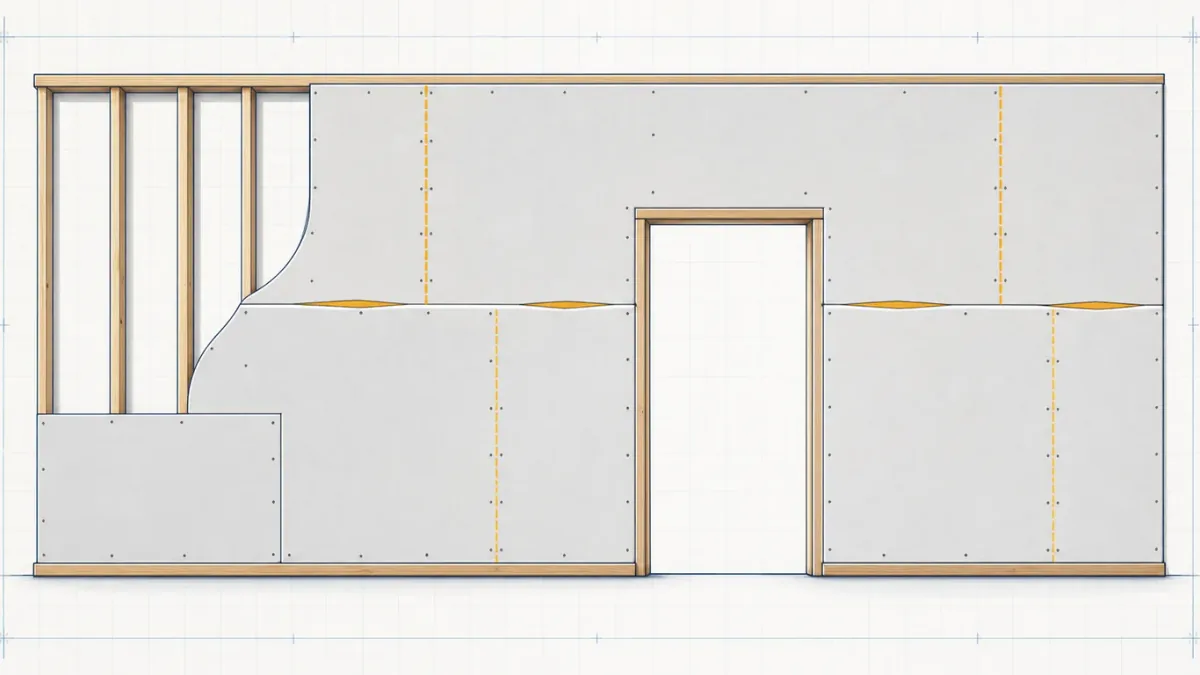
Quantities include a 10% waste allowance and standard deductions of 21 sq ft per door, 15 sq ft per window and 112 sq ft per garage door. The sheet count comes from laying the board out wall by wall, plus 10% as spare sheets. Round up when in doubt, an extra sheet costs less than a second trip.
When you drywall a full room you are really estimating two different surfaces at once. The walls are a perimeter times a height with openings cut out of them, and the ceiling is a simple length times width with no openings at all. This calculator has both switched on, adds them into one sheet count, and uses a higher screw purchasing allowance for the overhead portion of the job.
Why walls and ceiling are calculated separately, then added
It is tempting to treat a room as one lump of square footage, but walls and ceilings behave differently in three ways that matter to your order.
- Openings. Walls lose area to doors and windows. Ceilings almost never do, so a ceiling is the full length times width.
- Fasteners. Board hung overhead often uses a tighter fastening pattern. For ordering only, this calculator allows one screw per square foot on walls and 1.25 per square foot on ceilings.
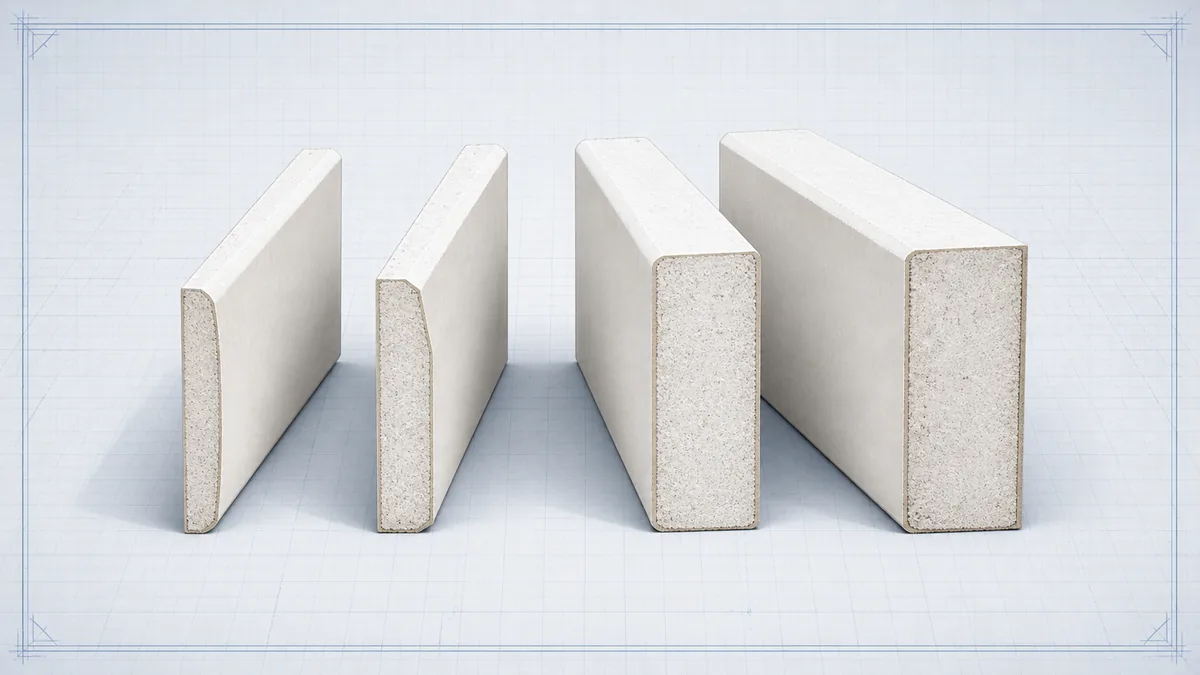
- Thickness. Many US builders use five eighths inch board on ceilings to resist sagging, especially at 24 in on center framing, while walls stay at half inch.
The sheet count adds the two areas because you buy board by the sheet regardless of where it ends up. The screw count keeps them apart, because that is the number that changes.
The whole-room formula
- Wall area = 2 x (length + width) x wall height.
- Openings = (doors x 21 sq ft) + (windows x 15 sq ft) + (garage doors x 112 sq ft) + any custom width x height openings.
- Net wall area = wall area - openings.
- Ceiling area = length x width.
- Total area = net wall area + ceiling area.
- Sheets = every wall and the ceiling laid out sheet by sheet, plus 10% spare sheets rounded up, and never less than total area x 1.10 divided by sheet area.
Everything downstream, compound, tape and screws, is sized from that board total rather than from the raw room dimensions. You tape the joints of the sheets you actually hang, so the finishing quantities have to follow the sheet count.
Worked example: a 16 by 13 foot living room
A 16 ft by 13 ft living room with 9 ft ceilings, two doors and three windows, boarded on walls and ceiling with 4x12 sheets.
- Perimeter: 2 x (16 + 13) = 58 ft.
- Gross wall area: 58 x 9 = 522 sq ft.
- Openings: (2 x 21) + (3 x 15) = 87 sq ft.
- Net wall area: 522 - 87 = 435 sq ft.
- Ceiling area: 16 x 13 = 208 sq ft.
- Total area: 435 + 208 = 643 sq ft.
- With 10% waste: 707.3 sq ft. Divided by 48 sq ft per 4x12 sheet = 14.74, so 15 sheets by area.
- Laid out, the walls and ceiling also take 15 sheets of 4x12. With 2 spares the calculator says 17.
Fifteen 4x12 sheets is 720 sq ft of board, which needs about 101 lb of joint compound (two 4.5 gallon boxes) and roughly 267 linear feet of tape (two 250 ft rolls). Screws split by surface: 435 wall square feet at one per square foot is 435, and 208 ceiling square feet at 1.25 per square foot is 260, for about 695 screws or a 3 lb box.
Hang the ceiling first. It lets the wall sheets support the ceiling edges, gives you a cleaner corner to tape, and means any ceiling offcuts can still be used low on a wall where they will be hidden behind baseboard.
What changes when the ceiling is in scope
The estimate is the easy part. Boarding a ceiling changes the way the job runs, and it is worth planning for before the delivery arrives.
- Rent a drywall lift. It costs a fraction of a day rate and turns a two person struggle into a one person task, with better results at the seams.
- Run ceiling sheets perpendicular to the joists. It spreads any framing irregularity across several joists instead of concentrating it in one seam.
- Check joist spacing. At 24 in on center, use five eighths inch board or half inch sag resistant board, not standard half inch.
- Plan for a level 5 finish if the ceiling gets a flat paint and takes raking daylight, since side lighting shows every imperfection.
- Leave the perimeter for last. A small gap at the wall line is hidden by the wall sheets and by trim.
A sensible order of work for a full room
- Confirm framing, blocking and any electrical or plumbing rough-in has been inspected.
- Mark stud and joist centers on the floor so you can find them once the board is up.
- Hang the ceiling, working from one corner and staggering butt joints.
- Hang the walls top sheet first, then the bottom, leaving a small gap at the floor.
- Fit corner bead on every outside corner.
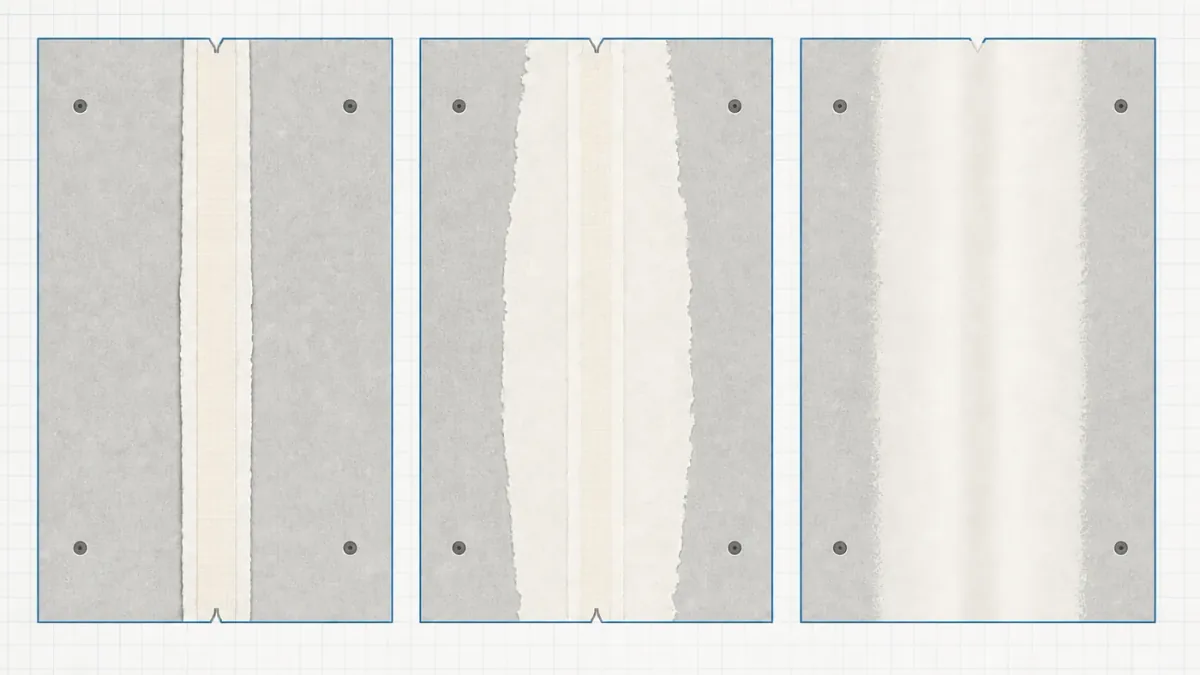
- Tape, then apply two or three coats of compound, sanding between coats.
- Prime before painting, since bare board and dried compound absorb paint very differently.
Estimating and sequencing feed each other. Once you know you are hanging 15 sheets rather than 30, you know whether this is a weekend project or a week, and whether the delivery needs to land in the room or can sit in the driveway.