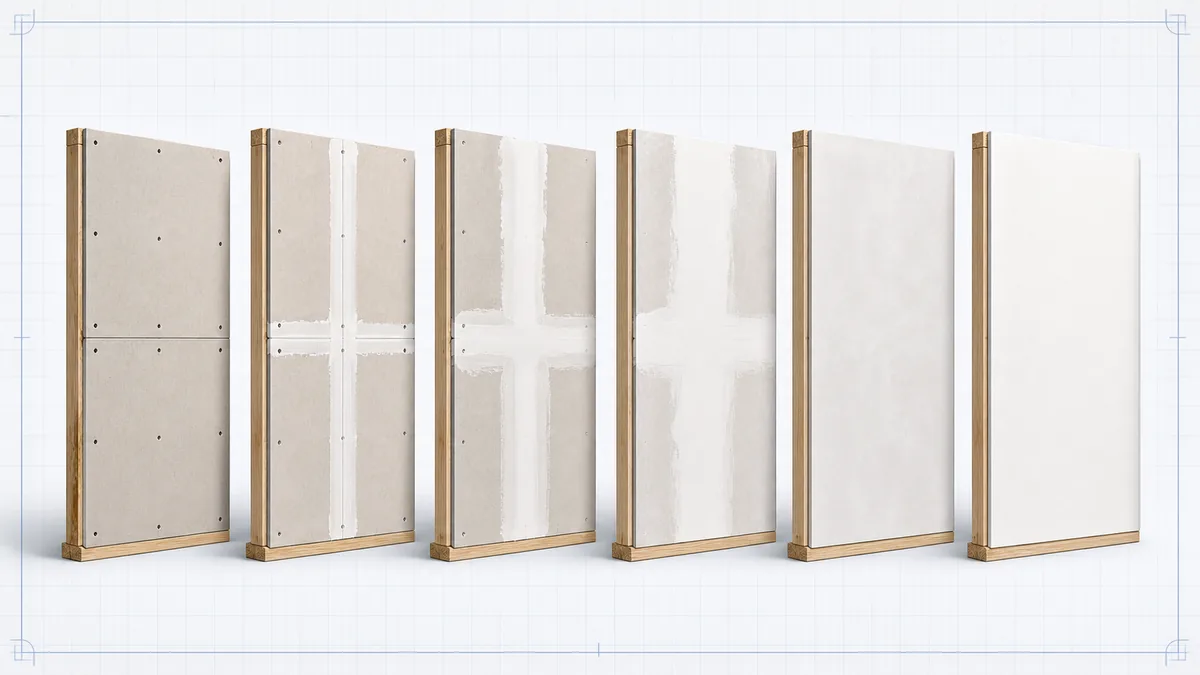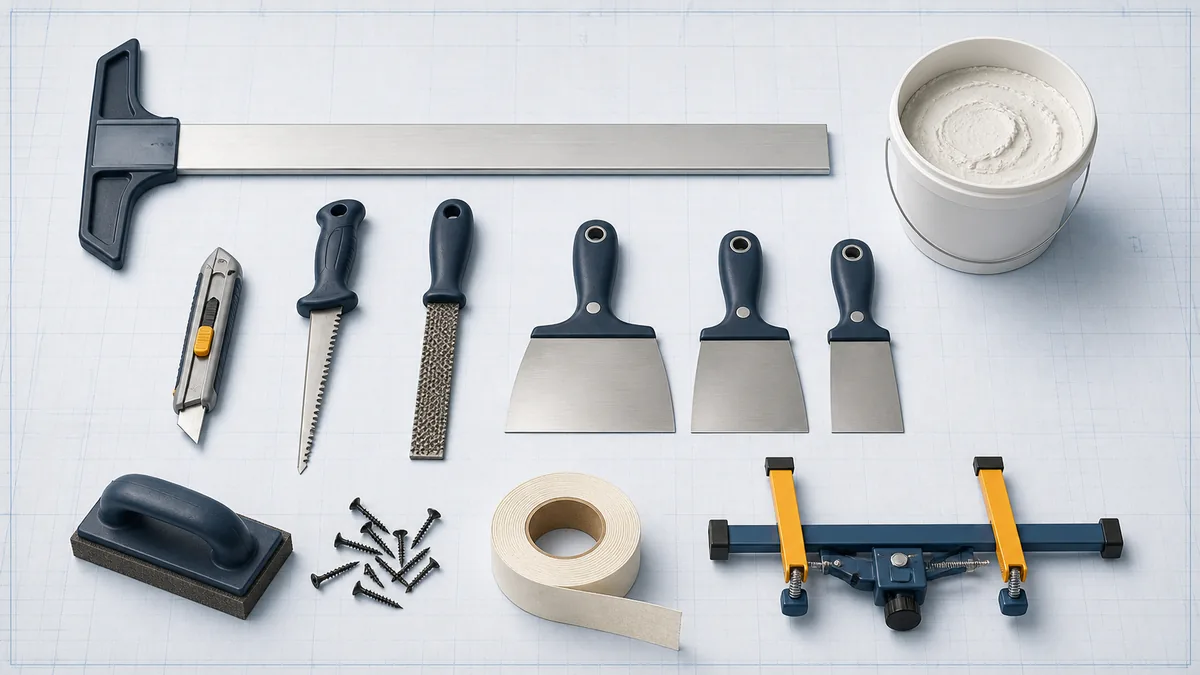
Taping is where a drywall job is won or lost. Hanging is measured in hours, taping in days, and every shortcut shows up under paint. The good news is that the process is completely standard: reinforce every joint with tape bedded in compound, then build the joint out in two or three progressively wider coats, then sand as little as you can get away with. This guide covers the materials, the coats, and how to keep sanding to a minimum.
Paper tape, mesh tape and which compound
- Paper tape: stronger, resists cracking better, and has a crease down the middle that makes inside corners straightforward. It must be bedded in wet compound. This is the default for flat joints and all inside corners.
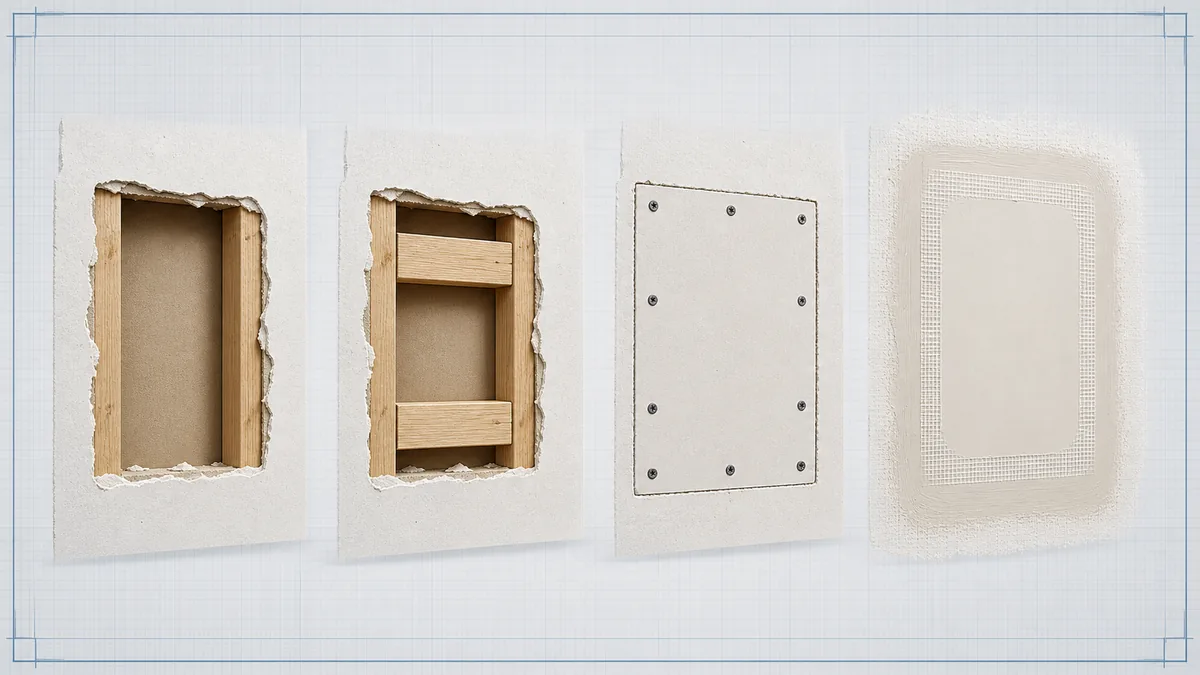
- Self-adhesive fiberglass mesh: quicker to apply and does not need bedding, but it is weaker in tension and should be used with a setting-type compound. Best for patches and small repairs rather than a whole room.
- Metal or paper-faced metal corner bead: for outside corners. Fastened, not taped.
On compound, there are two families. Setting-type, sold as a powder that you mix, cures chemically in a set time regardless of humidity, shrinks less and is very hard to sand. Ready-mixed all-purpose and lightweight compounds dry by evaporation, take longer in a cold or humid room, and sand easily.
The common professional pairing is a setting compound for the tape coat, where strength matters and you want to move on quickly, then lightweight all-purpose for the finish coats, where sandability matters more than strength. Split your total roughly 40/60 between the two.
The three coats
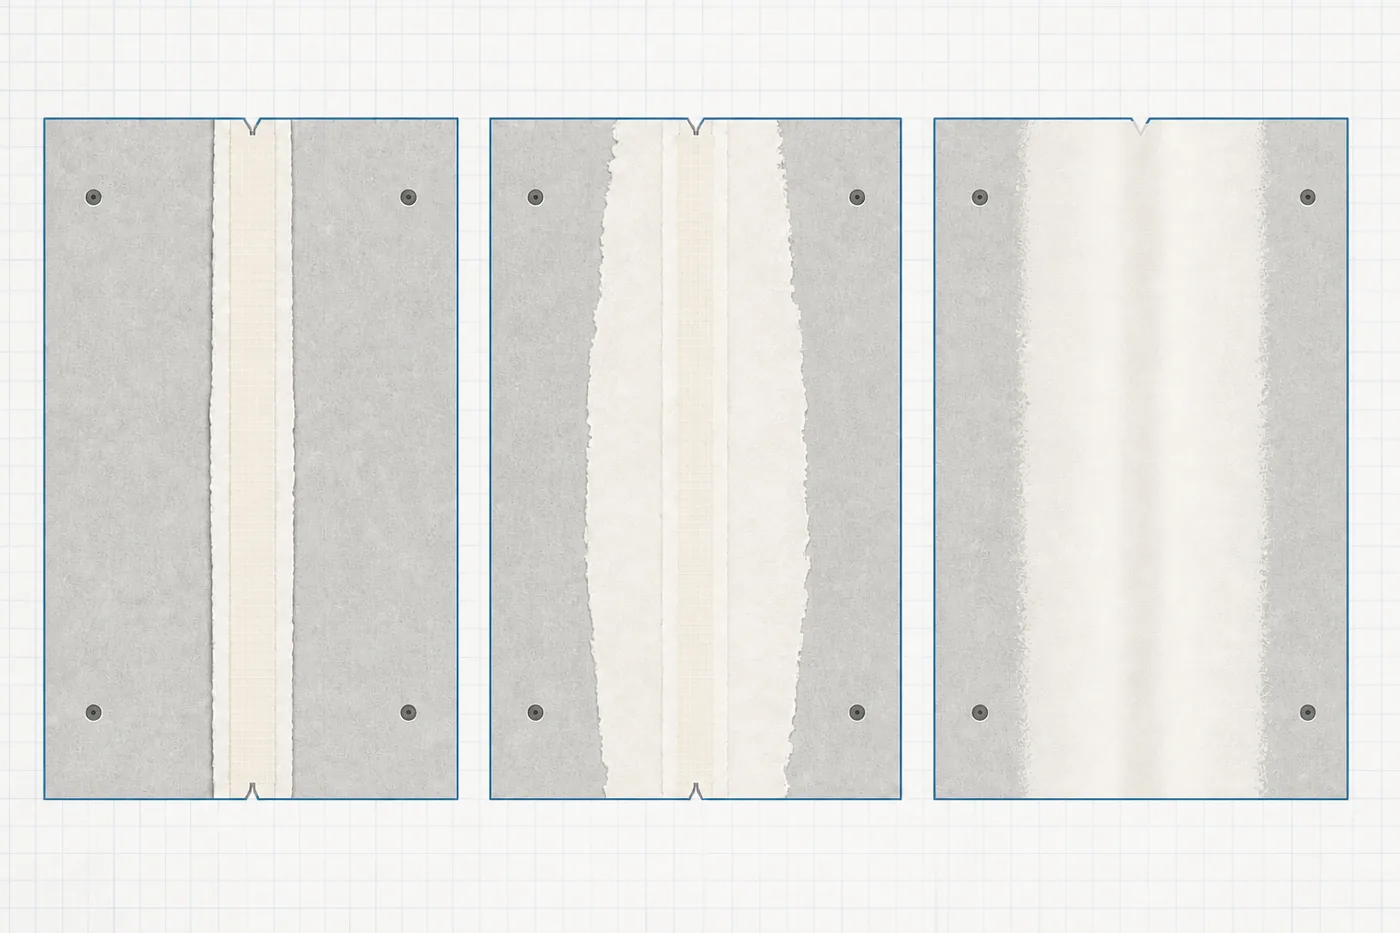
- Tape coat. Load the joint with compound using a 5 or 6 in knife, press the tape into it, then draw the knife along firmly at a shallow angle to squeeze out the excess and leave the tape flat and fully bedded. Any air under the tape becomes a bubble you cut out later.
- Fill coat. Once the tape coat is hard, apply a wider band with an 8 or 10 in knife, centered on the joint and feathered at the edges. You are filling the taper, not building a mound.
- Finish coat. With a 10 or 12 in knife, apply a thin, wide skim and feather it well past the previous coat. This coat is about blending, not filling.
Each coat should be thinner and wider than the one before. Butt joints have no taper to fill, so they need to be feathered much wider, often 16 to 24 in, to disappear. That is the real cost of a butt joint and the reason layout matters.
Screw dimples get the same treatment: a swipe of compound with each coat. Three thin passes beat one thick one, which will shrink into a dish.
Inside and outside corners
Corners are where most first-time jobs look homemade, and the cause is nearly always trying to do both sides at once.
- Inside corners: fold paper tape along its crease, bed it in compound on both faces, then set it with a corner knife or by pulling one side at a time.
- Do one side of an inside corner per session. Compound on a wet neighboring face will pull and ridge.
- Outside corners: fasten corner bead every 8 to 10 in, then treat the bead like a very shallow butt joint, building compound out from the nose in two or three coats.
- Ceiling to wall joints in a room with movement, such as a truss-framed ceiling, are candidates for a proper expansion detail or a coved trim rather than rigid tape.
Sanding less, and knowing when to stop
Sanding is the worst part of drywall work, and almost all of it is optional. Time spent getting a coat flat with a knife is time not spent sanding, at roughly ten to one.
- Knock down ridges with a knife between coats rather than sanding them. It takes seconds and makes no dust.
- Use a sanding sponge or pole sander with 120 to 150 grit. Coarser paper leaves scratches that show through paint.
- Wet sanding with a damp sponge produces no airborne dust and is ideal in a finished house.
- Work with a light held flat against the wall, not from above. Raking light shows every defect that paint will later reveal.
- Stop when the joint is flat and the edges cannot be felt. Sanding into the paper facing creates fuzz that must be sealed before painting.
Then prime before you paint. Bare paper and dried compound absorb paint at completely different rates, and skipping primer is the classic reason every joint is visible through a finished wall.
Drywall Calculator
Size your compound and tape from the board you are actually hanging.
Frequently asked questions
Primary references
Manufacturer and industry guidance used to check this article.
Product instructions, tested assemblies and local code take priority over general guidance.